
FROM A BOX
TO YOUR BOARD.

Parts, assembly, shape and finish.
This is how a hollow wooden board is built.

You receive the cut frame and Paulownia prepared for each part. You assemble, shape and finish. Your model's guide details every step.
PARTSASSEMBLYSHAPEFINISH
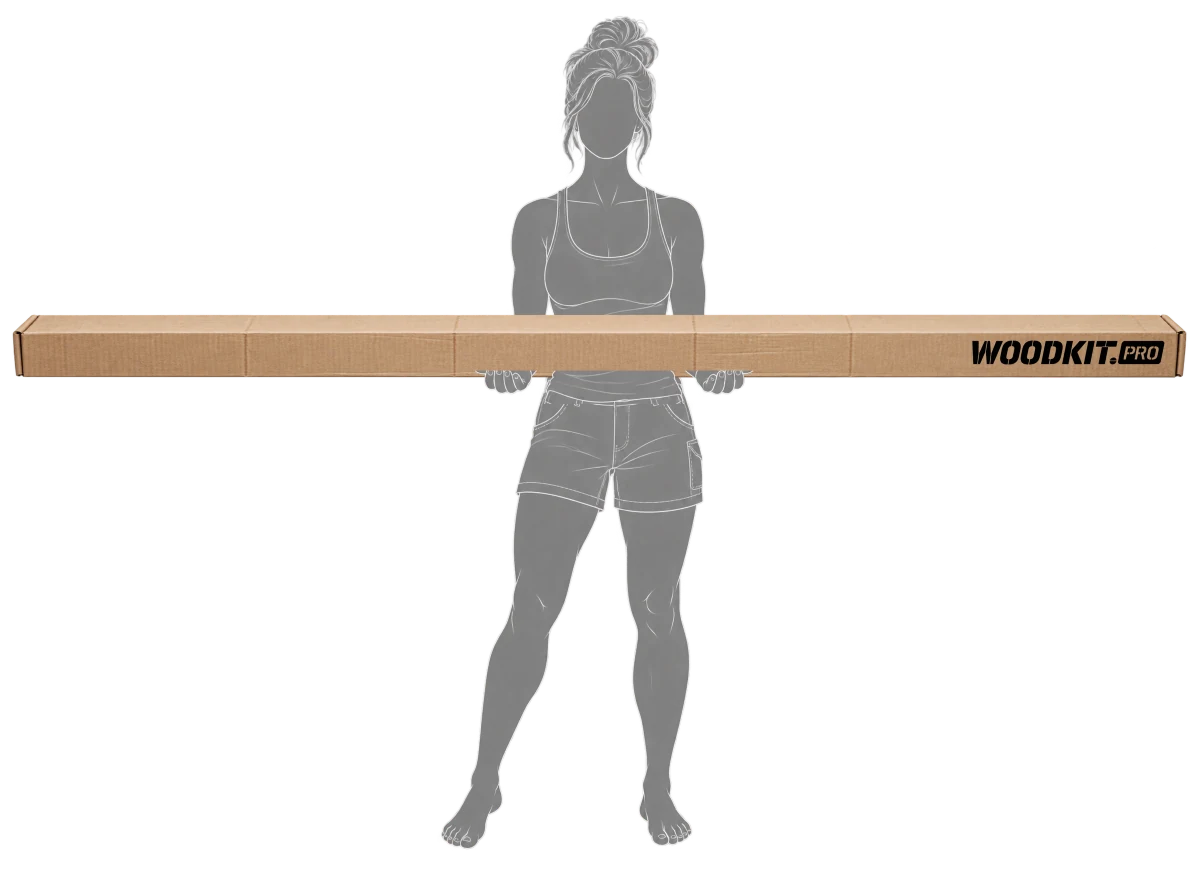
WOODKIT.PRO kit box held by a person to show its real size
EXPLORE THE BUILD ↓

UNDERSTAND THE PARTS.
PICTURE THE WHOLE.

You'll use these names throughout the build.

EXPLODED VIEW

0104020503
Schematic exploded view: geometry, joints and number of pieces vary by model.
  1. 01
    Deck

    The top surface. 5 mm Paulownia, 260–280 kg/m³.

  2. 02
    Frame

    Stringer and ribs in 5 mm multi-layer plywood, cut by laser and CNC router.

  3. 03
    Bottom

    The bottom surface. 5 mm Paulownia.

  4. 04
    Rails

    Paulownia strips joining both faces. You shape them by hand.

  5. 05
    Reinforcements

    Zones planned in the drawing for fin boxes and fittings.

  6. 06
    Assembly guide

    Step by step, from the first part to glassing.

What your kit includes.

  • Signature: the wood, the model's cut frame and the assembly guide.
  • Single: Paulownia sized for deck, bottom and rails.
  • Laser cut: the frame cut from your design.

Resins, glass, adhesives, consumables and tools are not included, unless the product page says otherwise.

What you prepare.

  • A table with the board's curve (rocker table).
  • Work supports (shaping stand).
  • Basic shop tools for clamping and sanding.
  • Glassing consumables and protection for working with resin.

No rocker table or shaping stand? Message us before you start and we'll sort it out for your model.

YOU DON'T SAND IN ROCKER.
YOU BUILD IT IN.

In a hollow board, the bottom curve, the thickness along the board and the bottom contours are set by the frame. What the frame dictates is what you surf: a cutting error can't be sanded out. That's why we cut the stringer and every rib with laser and CNC router, straight from the shaper's plan.

Rocker, foil, rails: what each part does in the water →

ROCKERFOIL = RIB HEIGHT

Side profile · each line is a rib cut to size.

RockerSet by the lower profile of the stringer and the ribs.
Volume and foilCome from the height of each rib along the board.
OutlineDefines where the rails run and the shape of the skins.

// Estimador de peso

¿Cuánto pesa de verdad
una tabla de madera?

Pon las medidas de la tabla que quieres construir. La estimación sale de la geometría real: superficie de las tapas, perímetro del canto y material del esqueleto, con Paulownia europea de 260-280 kg/m³.

Peso estimado terminada

—

El rango recoge la densidad de la madera, el espesor del listón de rail y la resina que acaba en el laminado. No incluye pintura ni acabados especiales.

¿Pesa más que una de espuma? Algo, sí. ¿Flota menos? Casi nada: lo que flota es el volumen, y cada kilo de más se compensa con un litro. Lo que sí notas en el agua es inercia: más carril, más glide y más proyección.

ONE STAGE.
ONE VISIBLE RESULT.

  1. 01Parts
  2. 02Assembly
  3. 03Shape
  4. 04Finish

Four moments, from the box to the water. Pick a phase to see what you use, what you do and what you check before moving on.

01 · PARTSPREPARE THE SKINS

From the kit

  • 01 Deck
  • 03 Bottom
  • 06 Guide

You bring

  • Methacrylate adhesive
  • Clamps or weights

What you do

  • Deck
  • Bottom

You join four 150 mm Paulownia strips and turn each set into a rectangular blank: one for the deck, one for the bottom.

What changes

Loose strips become the two skins of your board.

Before moving on: tight joints, no gaps or steps, and a full cure.

02 · ASSEMBLYCLOSE THE BOARD

From the kit

  • 02 Skeleton
  • 03 Bottom
  • 05 Blocks
  • 04 Rails
  • 01 Deck

You bring

  • Rocker table
  • Shapestand
  • Glue
  • Clamping tools

What you do

  • Skeleton
  • Bottom
  • Blocks
  • Rails
  • Deck

You set the skeleton on the rocker table, join the bottom, fit blocks and rails and close it with the deck once the inside work is done.

What changes

From loose parts to a closed hollow board, with its final rocker.

Before moving on: the skeleton sits on every station and on centre; check positions before they're hidden. Every joint needs its cure.

03 · SHAPESHAPE IT

From the kit

  • 04 Rails, already fitted
  • 06 Guide

You bring

  • Sanding tools

What you do

  • Rails
  • Outline
  • Surface

You shape the rails by hand, true the outline and prepare the surface.

What changes

It stops looking like a box and starts looking like your board.

Before moving on: check rail symmetry and that the surface is ready to glass.

04 · FINISHGLASS AND FINISH

From the kit

  • 05 Blocks (fin area)
  • 06 Guide
  • Fins · add-on

You bring

  • Resin
  • Glass cloth
  • Protection

What you do

  • Glassing
  • Fins
  • Finish

You glass the board, fit the fins and fittings and work the finish.

What changes

The board is sealed and ready for the water.

Before moving on: allow a full cure for your products.

Into the water.You built it.

Kit contents vary by line: Signature, Single or Laser & CNC.Don't want to do it alone? There are 4 ways →

THE PROCESS
HAS PAUSES TOO.

YOU WORKYou prepare and carry out a task
YOU WAITWhen a join or the finish requires it
YOU CHECKYou review before moving on

Active time.

Dry-fitting, preparing, joining, shaping and finishing.

Curing time.

Depends on the products used, their instructions and the working conditions.

Planning combines both: the cycle repeats wherever your model's guide calls for it.

SMALL DIFFERENCES.
ONE COMPLETE DESIGN.

Rails and tail are part of the whole the shaper designs. These drawings help you recognize their shapes.

Soft rail

A continuous transition between the top and bottom surfaces.

Hard rail

A transition that ends in a sharper edge near the bottom.

A rail can change along the same board.

Recognize the tail.

Squash

Wide end with rounded corners.

Round pin

The outline narrows to a rounded point.

Swallow

Two points separated by a central notch.

Pin

The outline narrows to a sharp point.

How a board rides depends on the complete design. To choose or customize, talk to the shaper about your break, your experience and what you're looking for.

FROM SCRATCH
OR WITH WOODKIT.

What builders say holds them back, and how it arrives solved in the box.

From scratchWOODKIT
WoodFind a supplier, thicknesses, drying and knots. Overbuy.Paulownia selected and sized for each part.
PlanConvert files, print at full scale, find a plotter.The shaper's plan, already turned into parts.
FrameJigsaw it, or find someone who cuts thin plywood, price on request.Cut by laser and CNC router, ready to assemble.
What to buyDoubts on thickness, glue and materials at every step.Assembly guide and a list of what you prepare.
If you get stuckForums and volunteer answers.Send us a photo of the step and we'll tell you how to continue.

SAME BOARD.
YOUR WAY TO BUILD IT.

The kit is the same. You choose how much company you want.

You were not leaving your cart just like that, right?

¿Te guardamos el kit?

Deja tu email y lo dejamos en tu carrito para cuando quieras retomarlo. Sin compromiso.